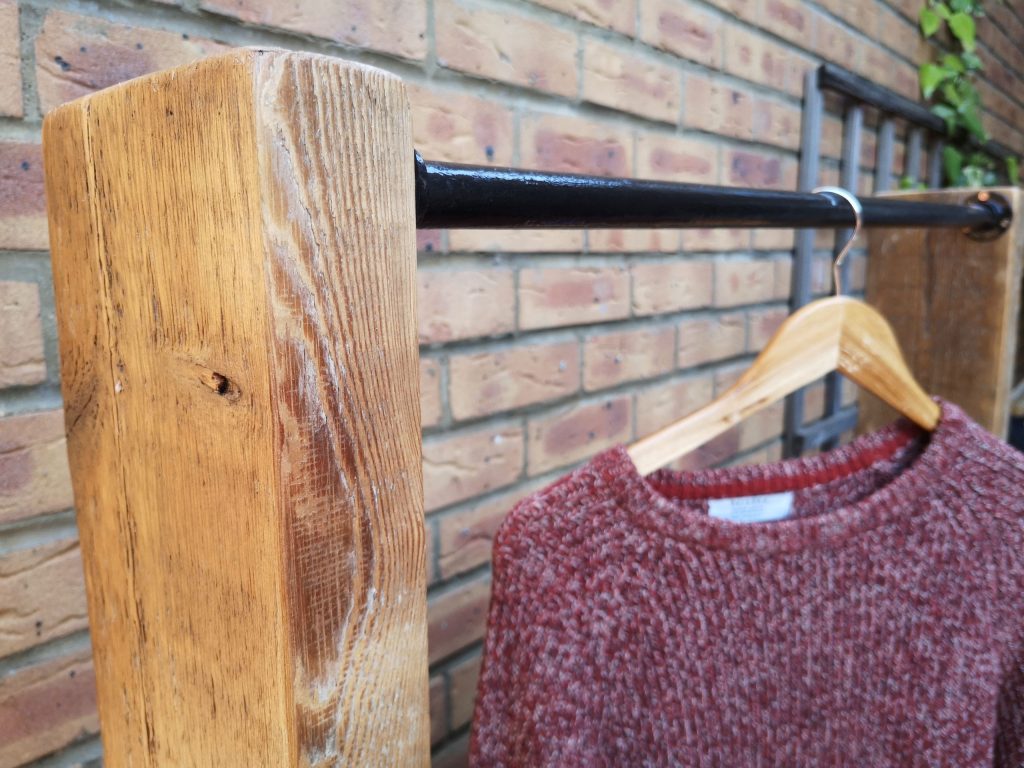
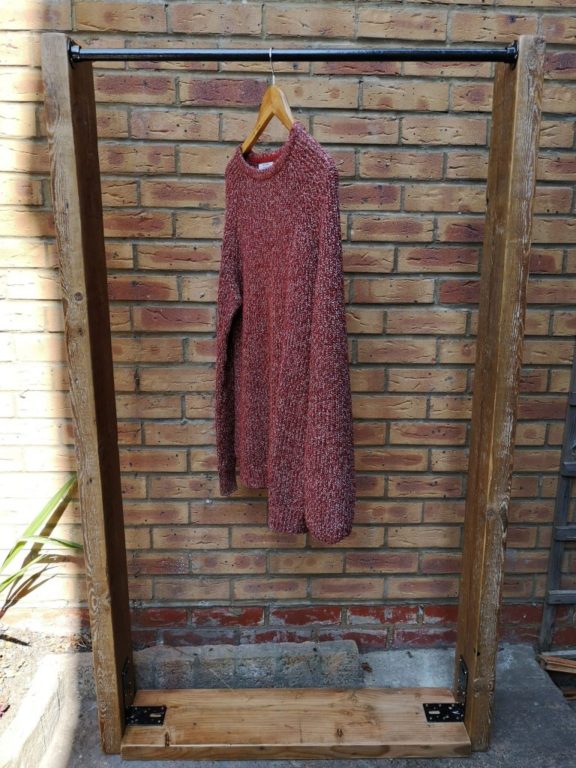
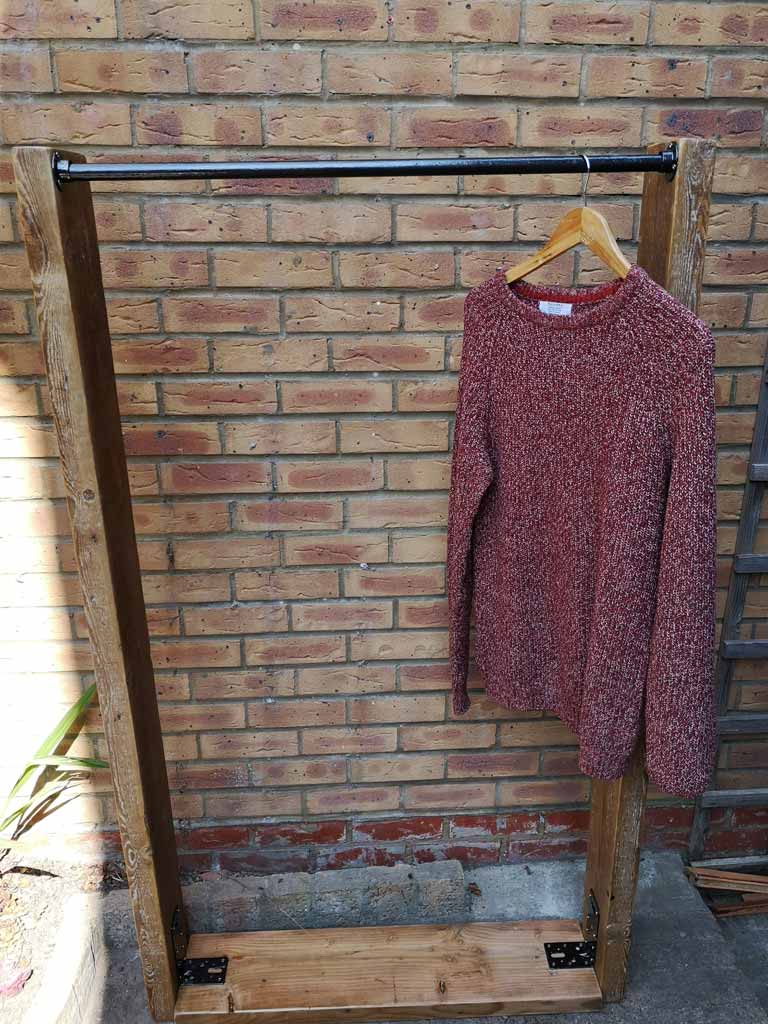
Using reclaimed wood found for free I put this DIY project: Industrial pipe clothes rail, heavy duty together for £6.90 in total.
Comprising of a old scaffold board that I scrubbed clean and an old clothes rail that I brought to life with a lick of black paint. This industrial pipe clothes rail was eventually sold on for £125 on Facebook marketplace.
Before you start: Scaffolding clothes rail
Before getting started, this is the detailed list of all the tools and materials you will need.
Tools Required
- Impact Drill
- Wood Screws (4.0 x 30)
- Tape Measure
- Hand Saw
- Sander
- Sandpaper (40 & 120 grit)
Materials
A run through of all the materials you will need to complete this project.
Wood
- 2 x 160cm Scaffold Board
- 1 X 84cm Reclaimed Wood Base (width equal to or larger than the scaffold boards width)
Paints & Varnishes
- Hammerite Paint – Black Hammered
- Interior Clear Matt Varnish
Fixings
- 2 X Rail End Sockets
- 2 X Heavy Duty Angle Bracket
- 1 X 84cm Clothes Rail Pole (This pole was found on the streets. You can also purchase a clothes rail pole in various sizes here. Make sure to adjust the length of the wood base if buying different length)
Step-by-step tutorial:
Follow our step by step guide to building your own clothes rail.
Step One:
If you’re using old dirty scaffold boards then step one will be to give these a good clean.
I scrubbed and sprayed the boards down with water.
Don’t worry too much about scratching the wood when scrubbing, as any marks can be smoothed out later during sanding.
I used a stainless steel scourer to clean these but a wire brush or a the back of a sponge will work just fine.

Step Two:
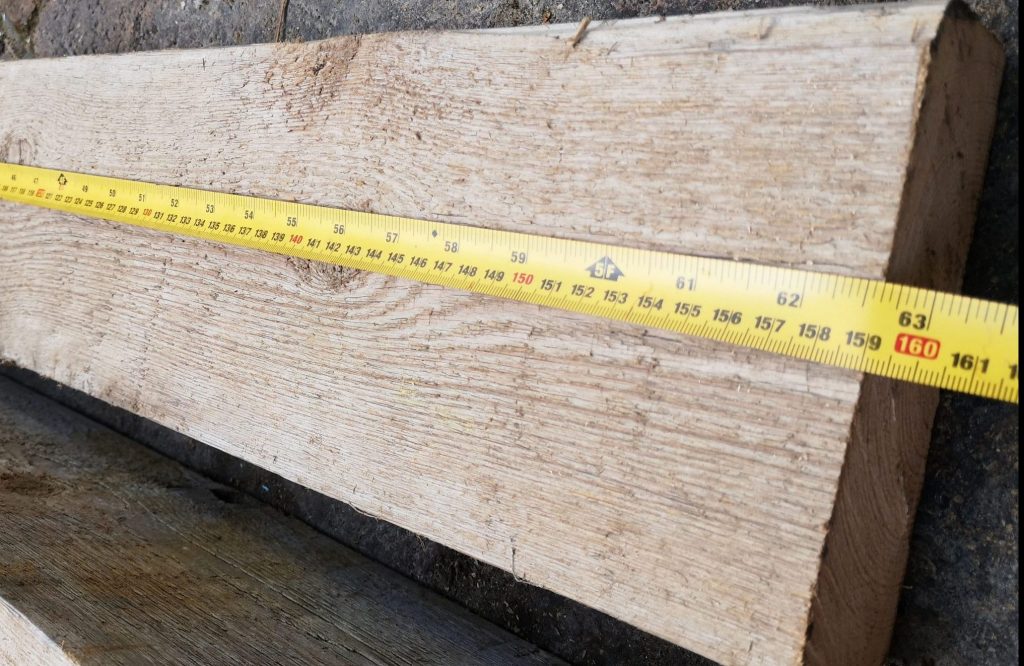
Next measure out your wood to the correct lengths.
For the vertical boards, use a tape measure and pencil to measure and mark out the board to 160cm in length.
Then with a ruler and pencil draw straight lines around the whole circumference of the boards. This will be your saw guide.
Repeat this measurement for your second vertical board.
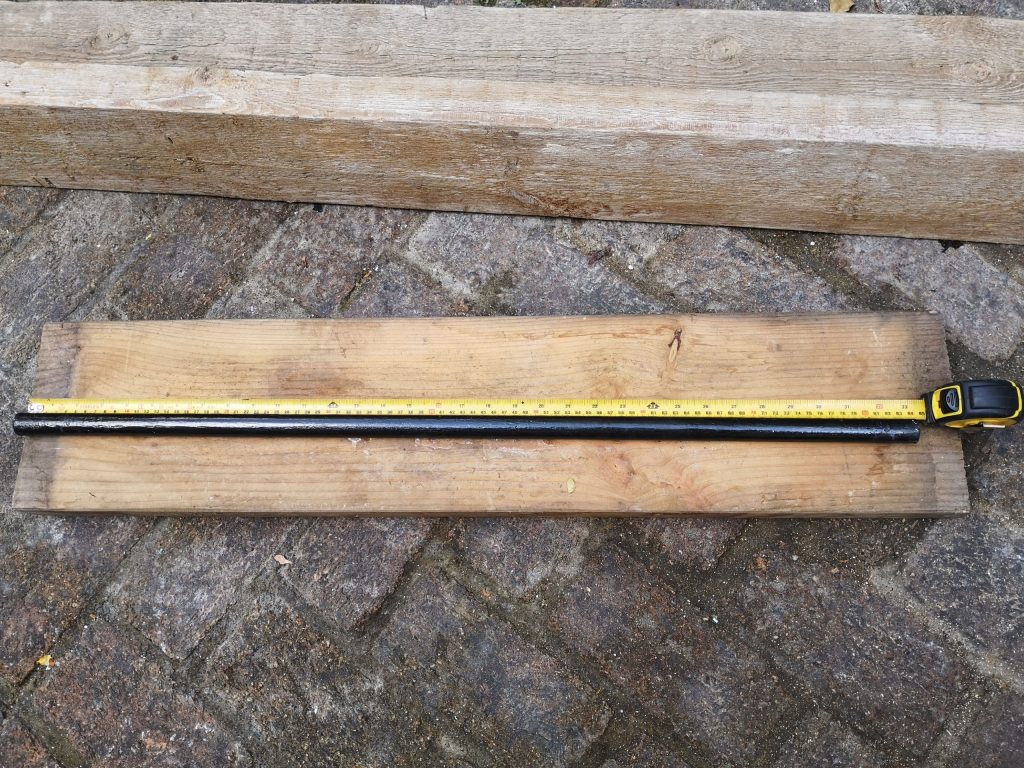
The horizontal, reclaimed wood base, also needs to be measured out.
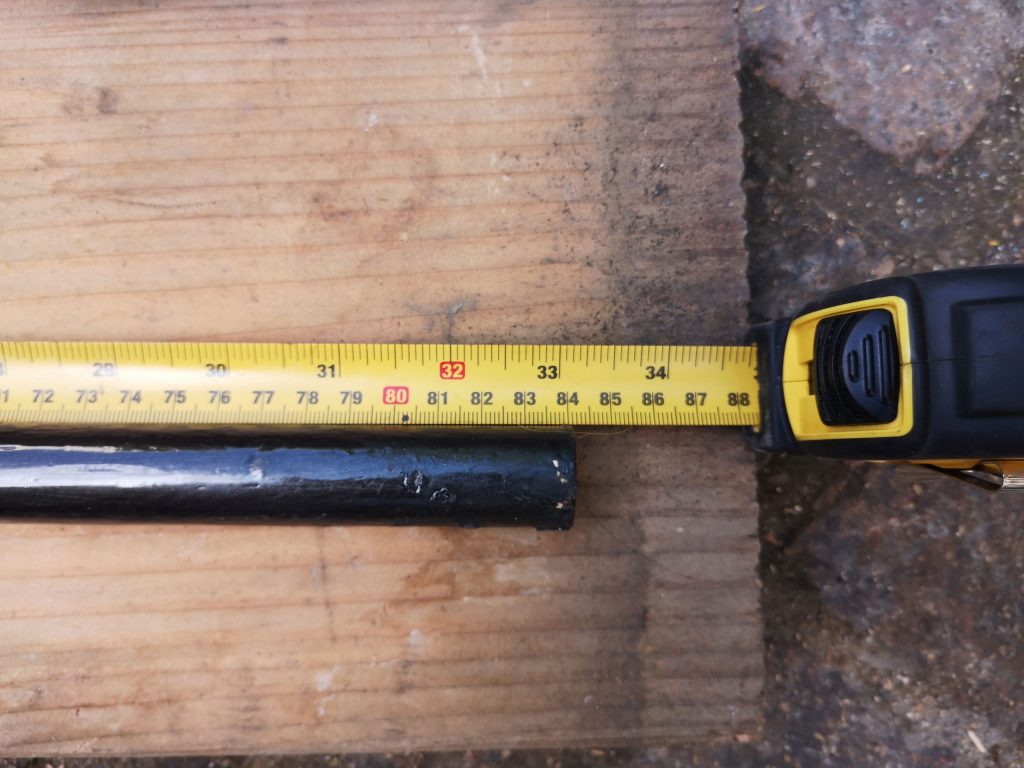
This needs to marked out to the same length as the metal pole. In this case, it needs to be marked at 84cm.
If you’re using a different size pole, make sure the base you cut is the exact same length!
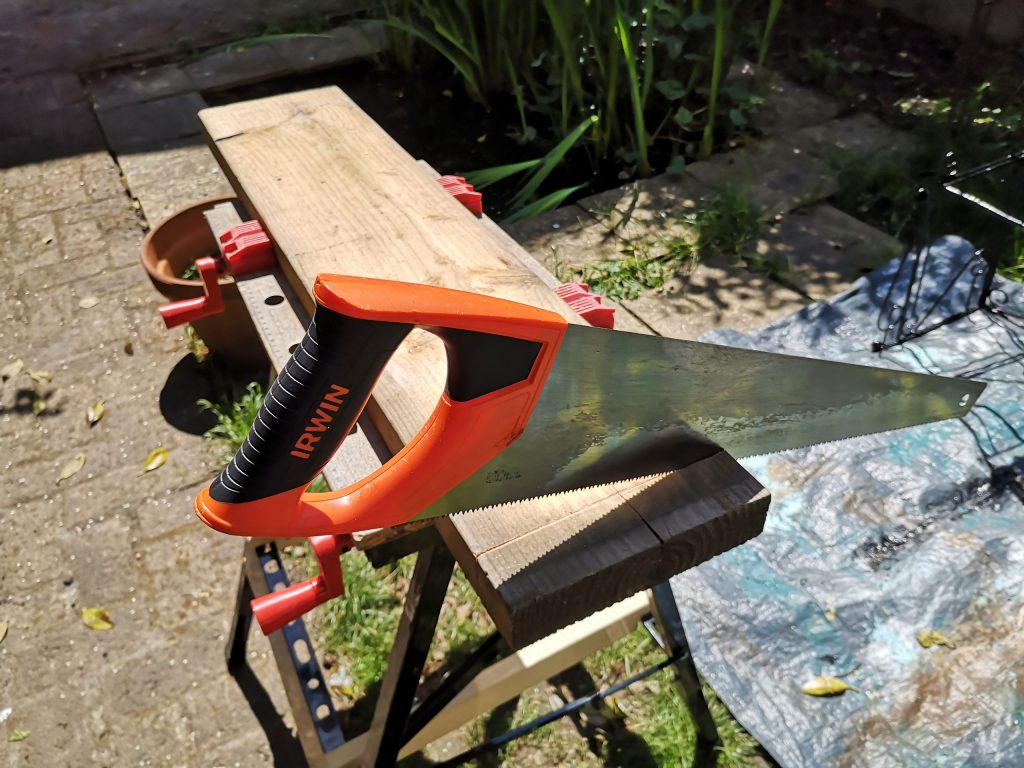
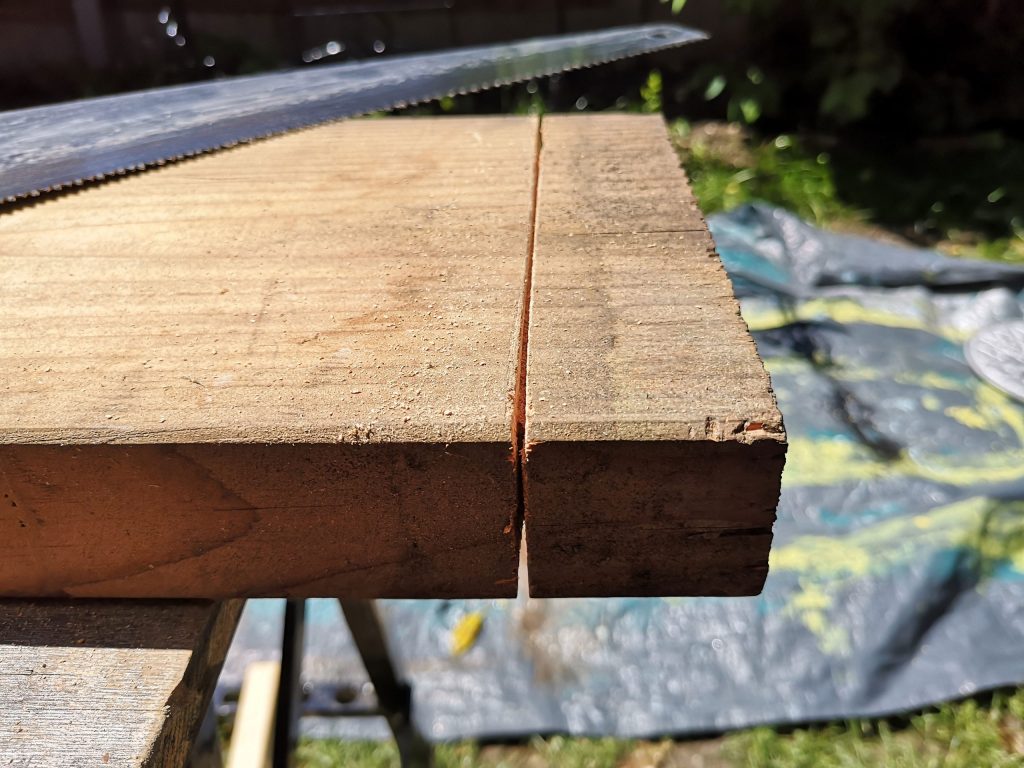
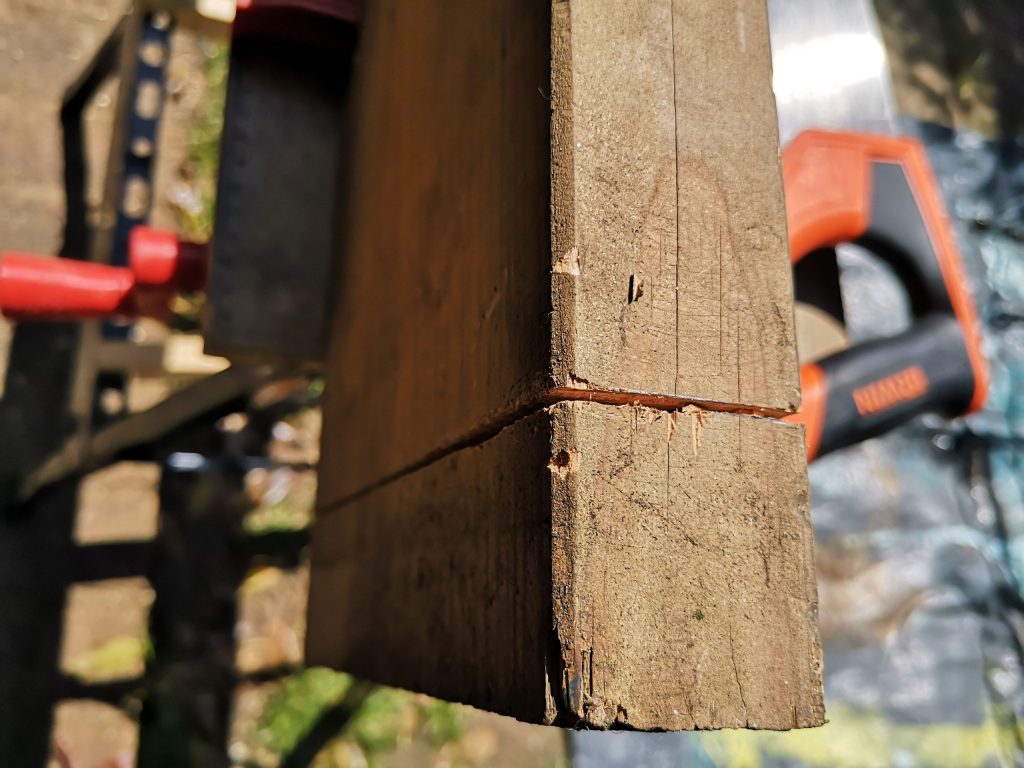
Step Three:
Now it’s time to saw through your wood.
During cutting, flipping the wood around at various stages to help cut a more straight line and avoid going off at a tangent.
Step Four:
Once you’ve cut all three pieces of your wood to the correct lengths, it’s time to sand them down.
I used an 80 grit followed by 120 grit to smooth out the wood.
Normally I wouldn’t start start sanding until I’ve actually put the piece of furniture together, but as this is large, bulky piece of furniture it is far easier to sand each piece individually.
For smaller more manageable upcycled furniture designs, it’s better to sand once you’ve screwed all the pieces together.
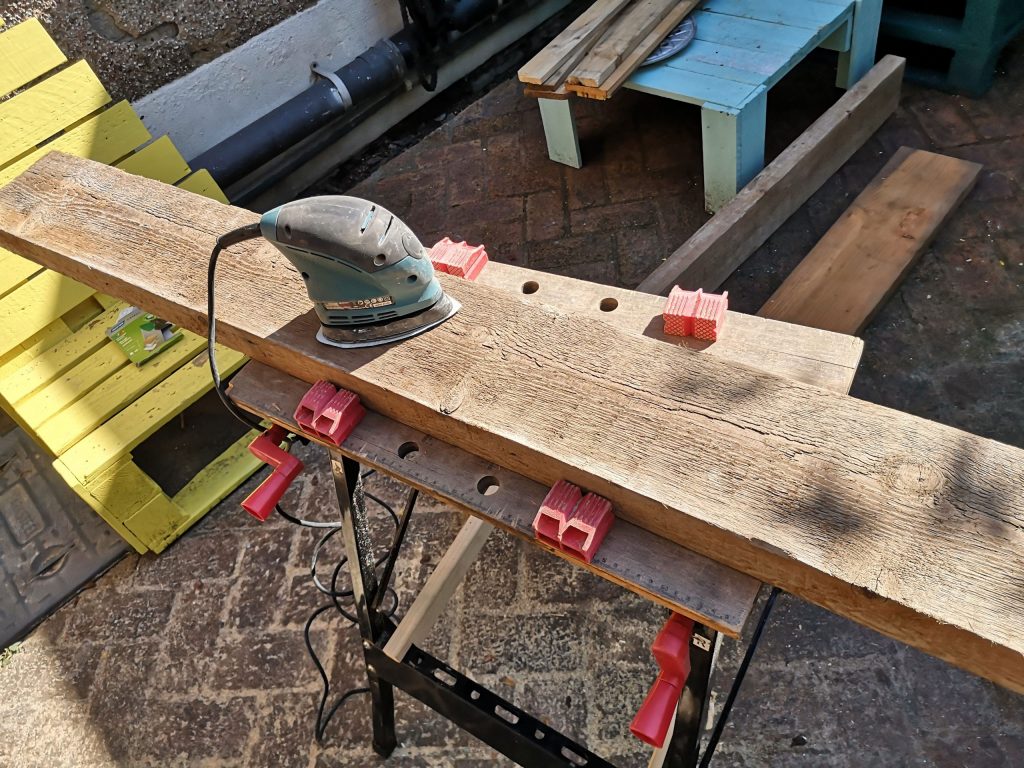
Step Five:
After sanding it’s time to varnish your piece of newly upcycled furniture.
Again, as this is a bulky piece, I decided to varnish each piece individually before screwing it all together.
Being a hot day this, varnishing beforehand was also factored as it dried incredibly quickly. Interior varnish will normally be touch dry in around half an hour.
For smaller pieces, I would recommend varnishing after fixing the unit into one piece.
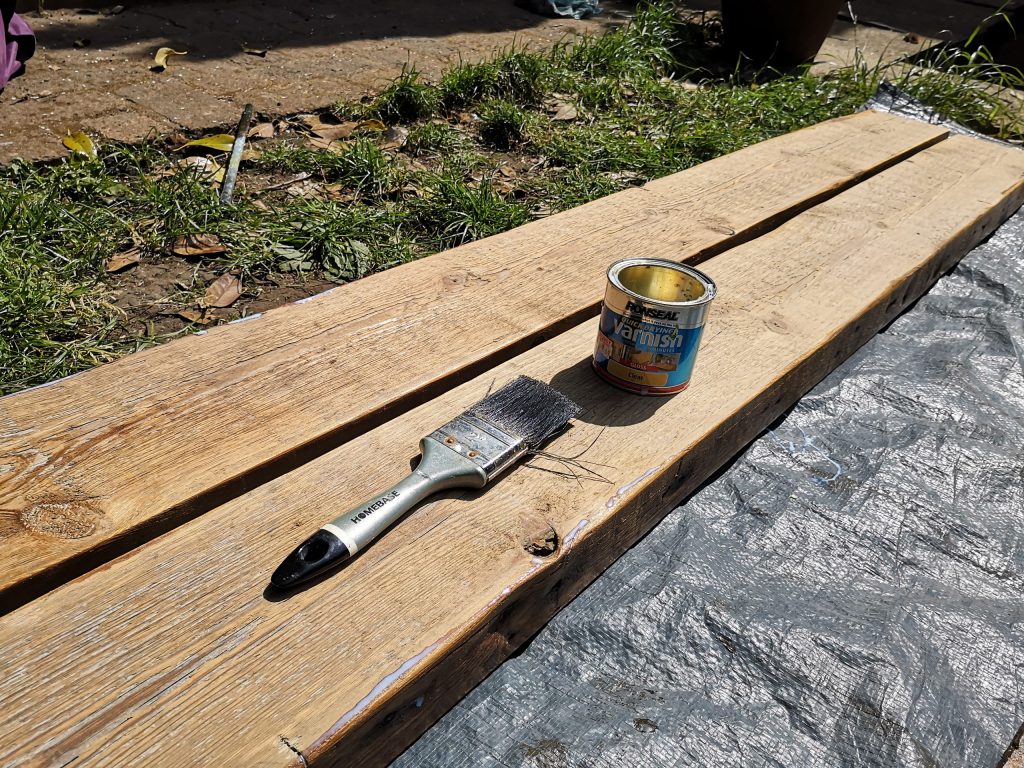
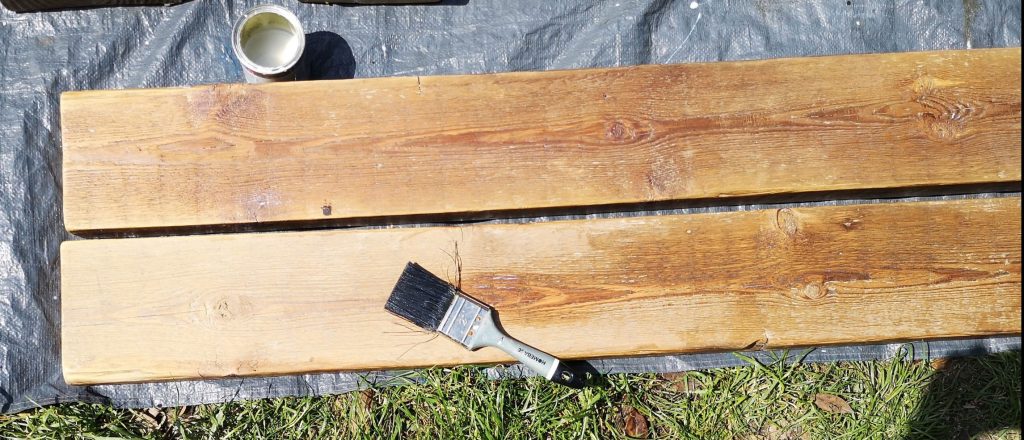
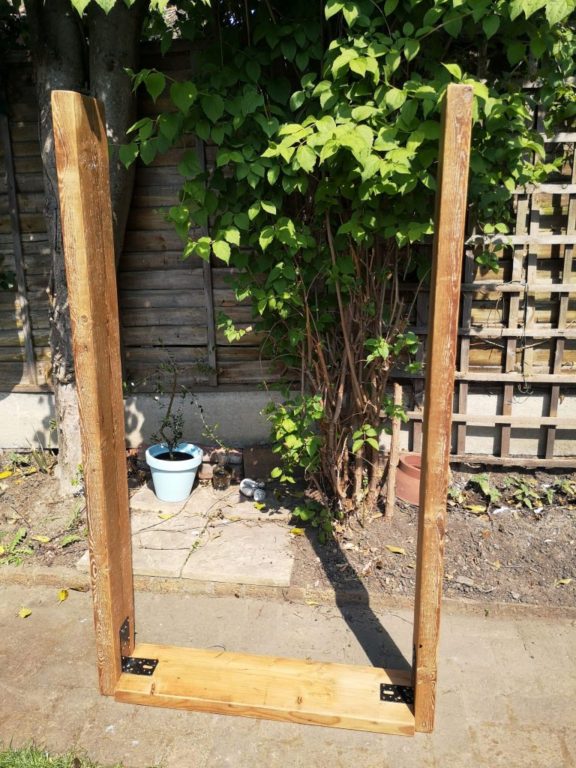
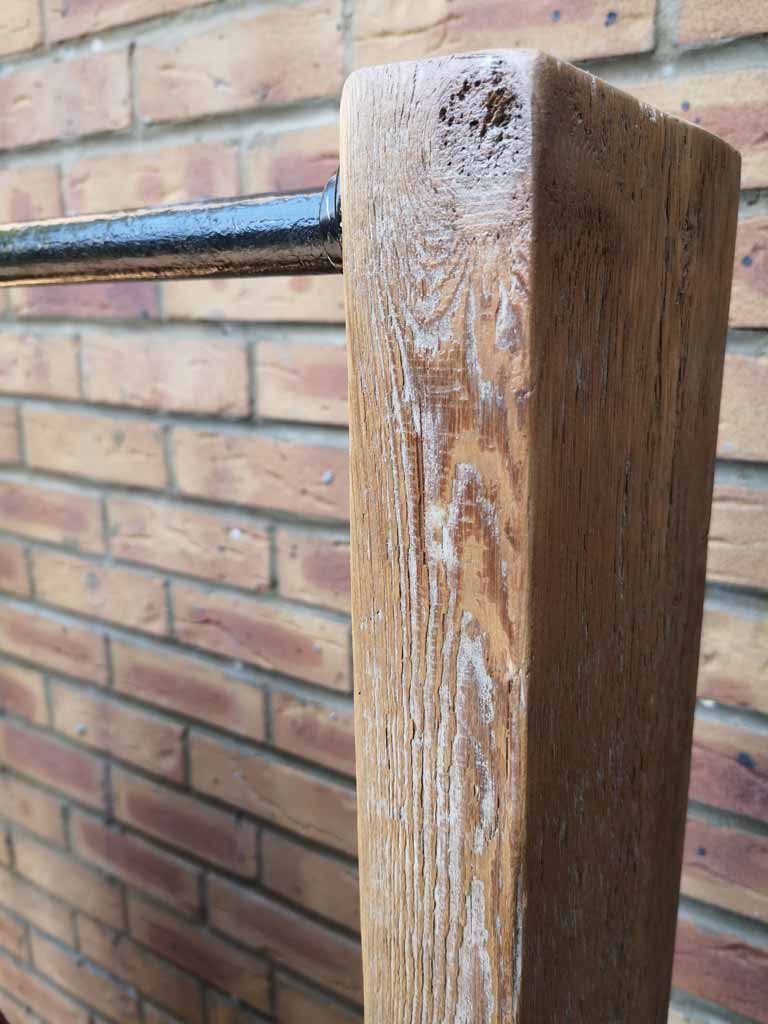
From this picture you can just see how essential it is to varnish, as it’s really brought out the beautiful grain of the wood.
Step Six:
After the varnish has dried. Layout your pieces on the ground as to where they will be screwed together.
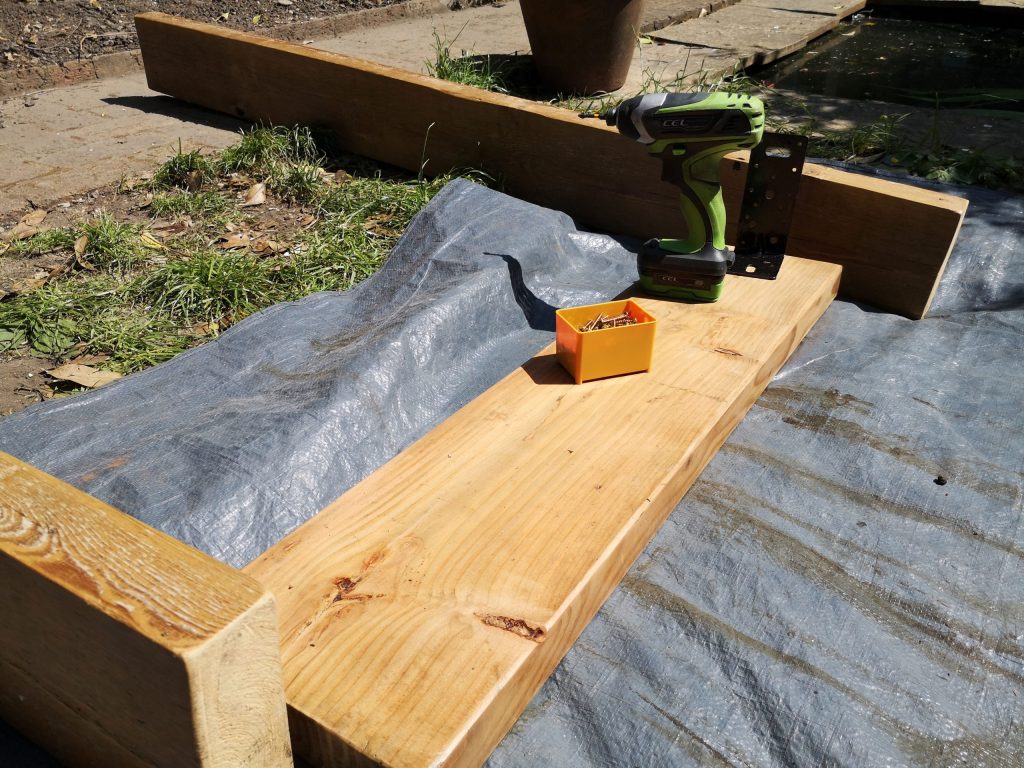
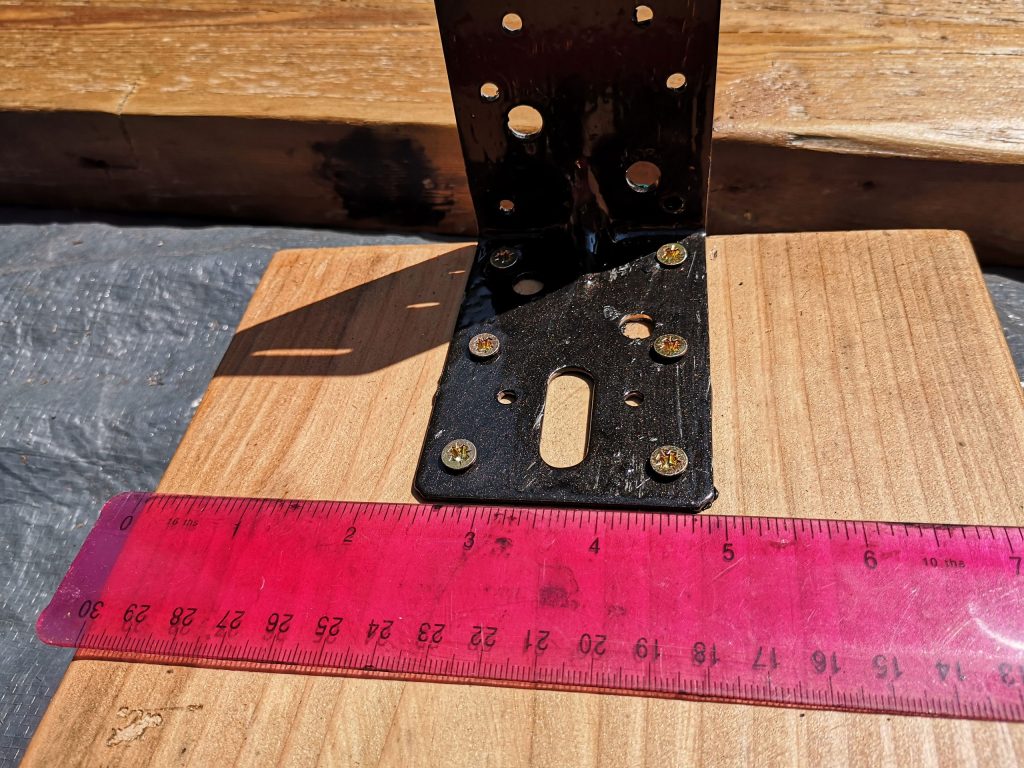
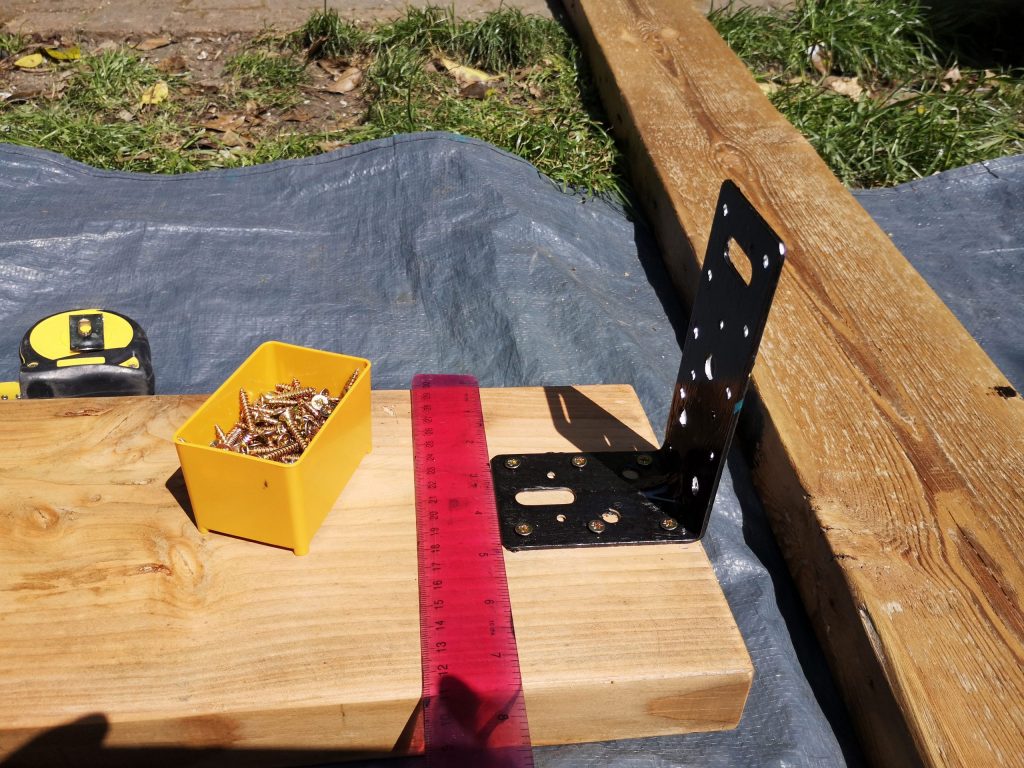
Taking one of your angle brackets, position it at one of the ends of the reclaimed wood base.
Fix so it is in the centre, making sure the longest length of the bracket is facing upward and in line with the end of the wood.
In this picture you can already see I’ve already painted the brackets black, but this step can also definitely be done at the end. Hammerite paint takes around 4 hours to dry,
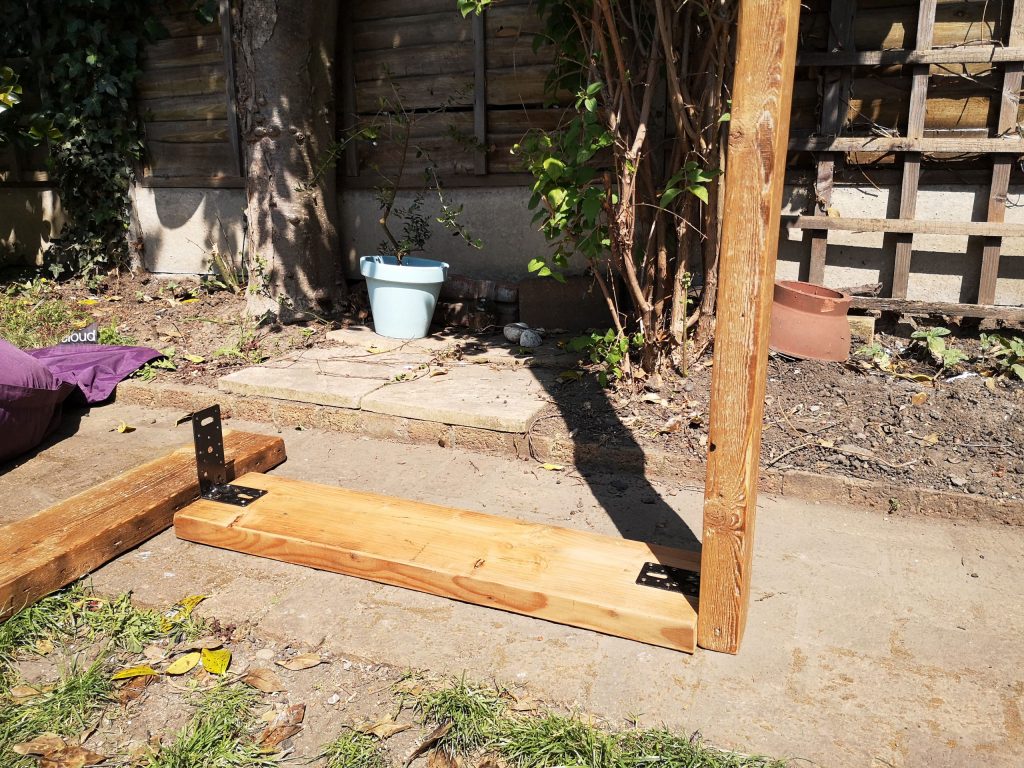
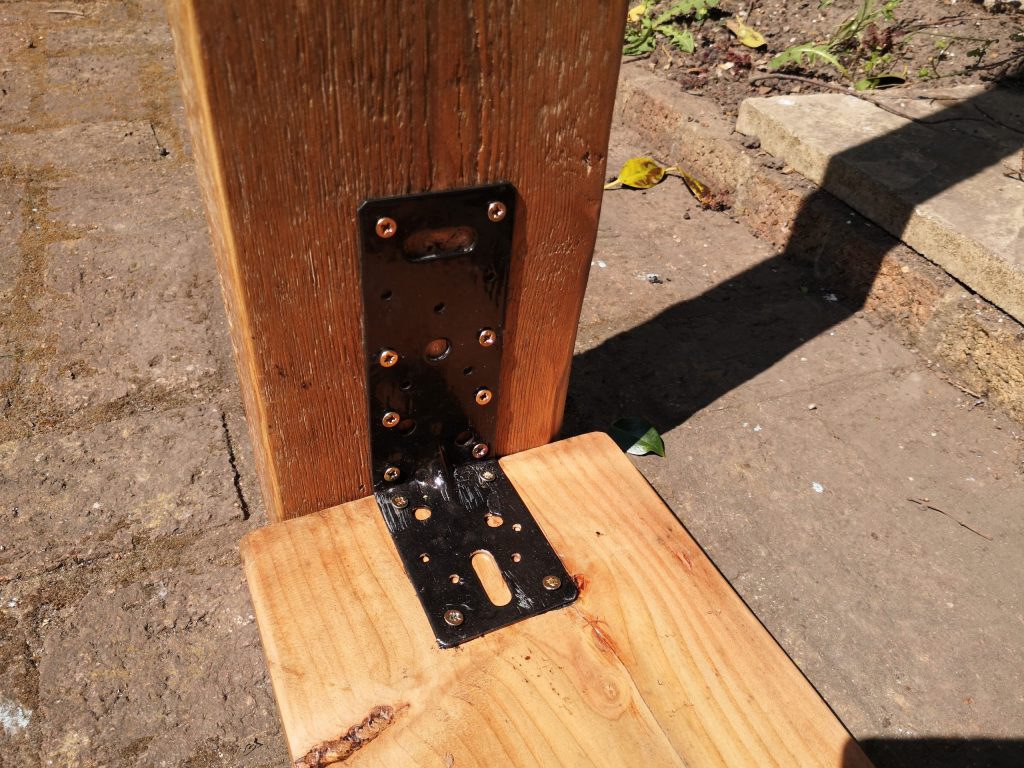
After fixing both brackets to the wood reclaimed wood base, move to a flat area and screw in one of the vertical scaffold board pieces. now onto the lonher length of the bracket. As seen above.
This will take some manoeuvring to hold in place, making sure you apply your body-weight to the bottom of the board, so when driving in the screw it doesn’t push the board away.
Repeat the step again for the second scaffold board.
Step Seven:
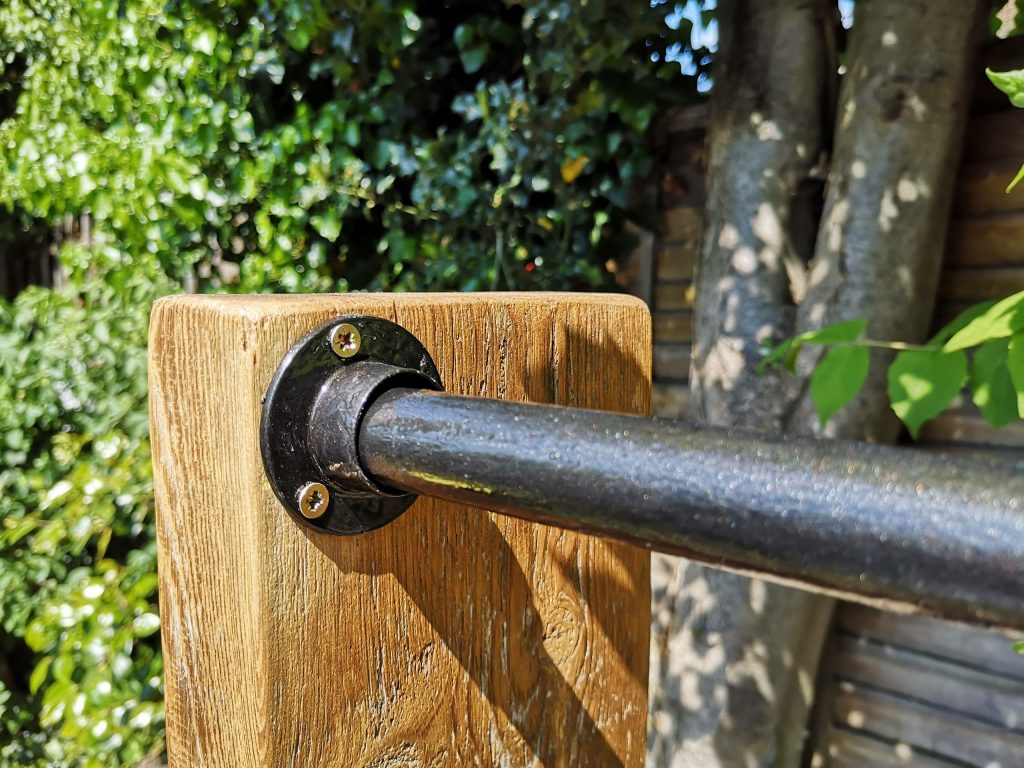
Now take the metal pole, loop the rail sockets onto it, and put in between the scaffold boards length ways at the top.
Position the rail towards one end of the length of wood in the corner, as seen above.
When placing the pole, you may need to pull back on the scaffold boards to squeeze it in. This is good, as if it was loose then the pole will not be as securely held.
For extra protection, then screw in the rail sockets either end for a finished solid piece.
Step Eight (Optional):
I also painted the metal pole and rail sockets as well as the angle brackets the previous day, but this step can be completed now.
Or left natural in their original state if preferred.
To Recap:
- Scrub and clean the dirty scaffold boards
- Mark out the measurements of your pieces of wood
- Saw along the measured lines
- Sand the wood
- Apply a varnish
- Fix the wood together with the angle brackets
- Place the metal pole and secure with the rail sockets
- (Optional): Paint the metal angle brackets and pole.
My design costs Vs. Similar Etsy designs
| MATERIALS | COST |
| Reclaimed Wood | £0 |
| Heavy Duty Brackets x 2 | £2 |
| Rail Sockets | £1.99 |
| Hammerite Paint* | £1 |
| Varnish* | £1 |
| Sandpaper * | 66p |
| Wood screws * | 25p |
| TOTAL COST | £6.90 |
| Similar Design Selling on Etsy #1 Konk ‖ ‘Simple’ Industrial Clothes Rail ‖ Modern Open Wardrobe, Minimal Hanging Rail | £505.00 |
| #2 Industrial Style Clothes Rail / Wardrobe / Shoe Storage / Display Rail | £265.00 |
| #3 Black steel pipe clothes rail with reclaimed scaffolding shelf | £115.00 |
| #4 Industrial Pipe Clothes Rail – Reclaimed Natural Wood | £140.00 |
* Calculations for materials work out at:
Paint/Varnish – 750 ml tin = £9.99. Lasts for 10 projects on avg. One Project = £1 per tin of paint / varnish Sandpaper – 6 pack = £2. Two use per project = 66p
Wood screws – box of 1000 = £3. Generous calculation of 25p per project for screws used.

Read our full story so far
ABOUT LUKE RICHARDSON
Luke is the chief maker of all the reclaimed wood furniture at Project Reclaim – a small family business that he set up in 2019. He is dedicated to using sustainably sourced materials and helping people bring their furniture ideas to life – as well as helping others DIY their own furniture, using materials around them.
Shop our full range of reclaimed wood furniture.
Subscribe to our newsletter
