Are you looking how to install a floating shelf? Then look no further! In this article, we will guide you through step-by-step on how to put up a shelf like a pro.
Whether you’re a DIY enthusiast or a first-time DIYer, this guide will help you achieve professional-looking results. With our easy-to-follow instructions and expert tips, you’ll be able to transform any room in your home with a practical and rustic reclaimed wood floating shelf.
From choosing the tools to measuring to positioning the shelf correctly, we cover everything you need to know to get the job done right. Don’t worry if you’re not the most handy person – these instructions are designed to be beginner-friendly, no matter your skill level.

What Tools Will I Need to Install Floating Shelves?
The following tools will be needed to install our reclaimed wood floating shelves onto brick or solid walls;
- Drill
- Masonry Bit Ø 10
- Spirit Level
- Pencil
- Tape Measure
- Adjustable Spanner / Wrench
- Hammer / Rubber Mallet

All our floating shelves are supplied with fixings and wall plugs suitable for solid walls.
Floating Shelf Fixings Blueprint

Step-By-Step Guide: How to Put up Floating Shelves
Now you have your reclaimed wood floating shelf, and all the necessary tools, you are now ready to get started.
Quick tip, always measure twice and work slowly, there’s no rush!

Step 1

Identify where you’d like to install the floating shelf on the wall. Then using a tape measure, measure the distance between the holes in the back of the shelf and mark up the drill holes on the wall.
Tips: If installing above plug sockets, it’s important to make sure that any electrical wiring is not in the area where you intend to drill!
Step 2

Drill a 10mm diameter hole, so that it’s deep enough for the wall plug to be fully inserted.
Step 3

Insert the wall plug, and tap it in with a hammer until it is flush with the wall.
Be careful not to tap it too hard and break the plug.
Step 4
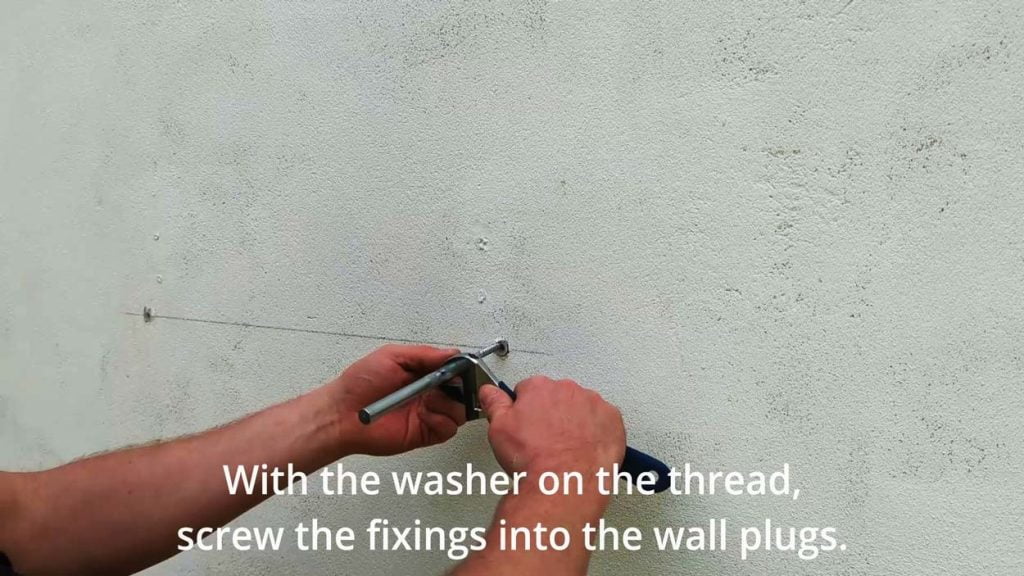
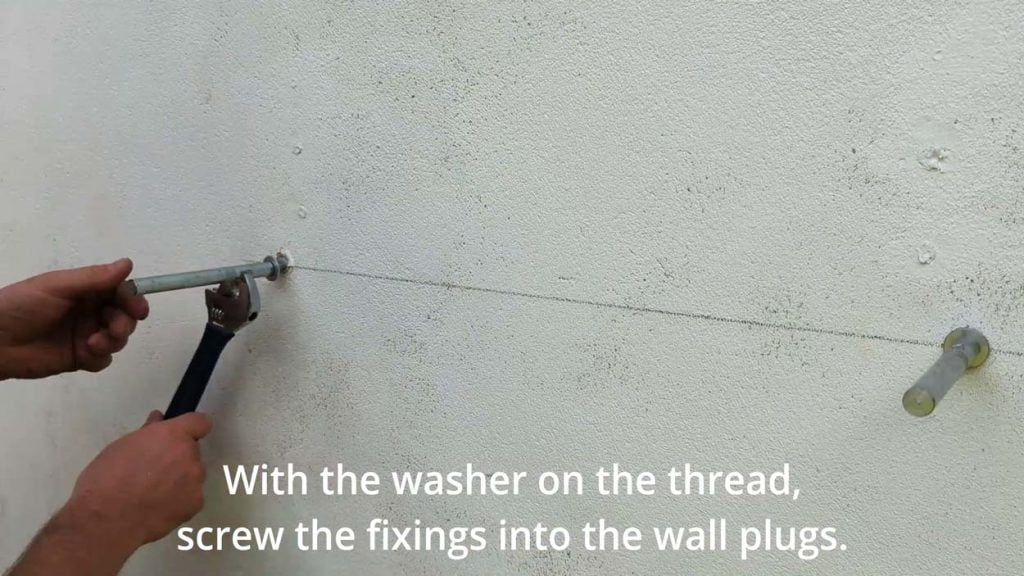
Place the washer onto the brackets from the screw thread end and then use the spanner to turn the fixing into the wall plug.
You will notice that the screw is not centred with the bracket as it allows you to adjust it.
Step 5

Push the shelf onto the fixings as far as the knurled section.
Step 6

Check the shelf with a spirit level. If it’s not level, you will notice the rods are made with an off-set cam, just after the knurled section.
Then use a spanner or wrench to turn the rod on this section, either left or right to the desired height adjustment. You may need to adjust both fixings until the shelf is level.

Step 7

Now that the shelf is fully level and you’re happy with the height, push the shelf all the way to the wall.
And that’s it, you’re done!
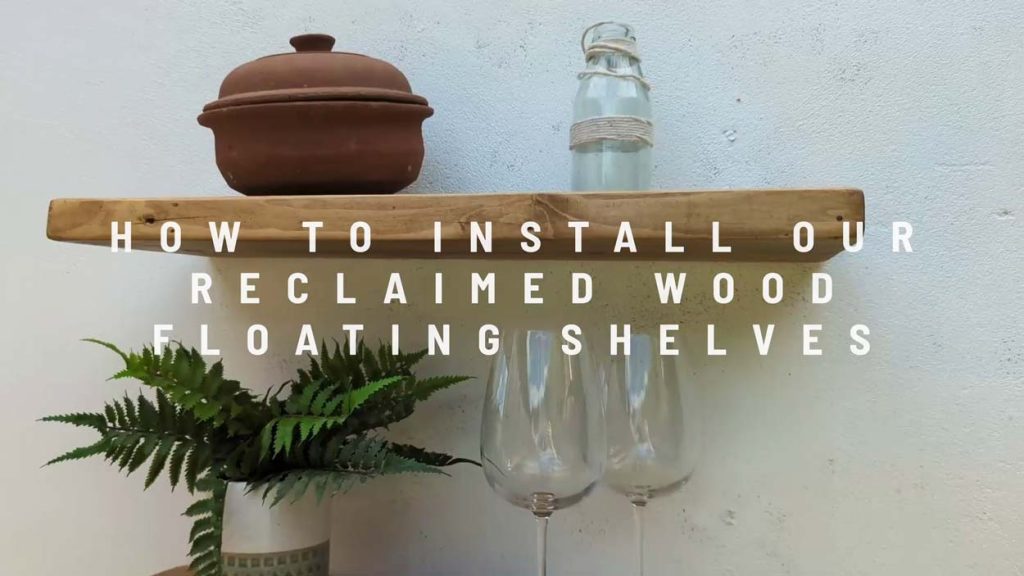
How to Install a Floating Shelf – Video
FAQ
If installed correctly onto a solid wall, then each floating shelf can hold up to 35kg in weight.
Floating shelves can also be installed on stud walls, but the fixings will need to be installed through the timber frames. We recommended that you seek help from a qualified tradesperson or professional DIY’er before doing this option.
Our other range of shelves may be more suitable in this instance.
Replacement wall plugs can be purchased online or from a local hardware shop, where you will need to buy a replacement 10mm diameter wall plug.
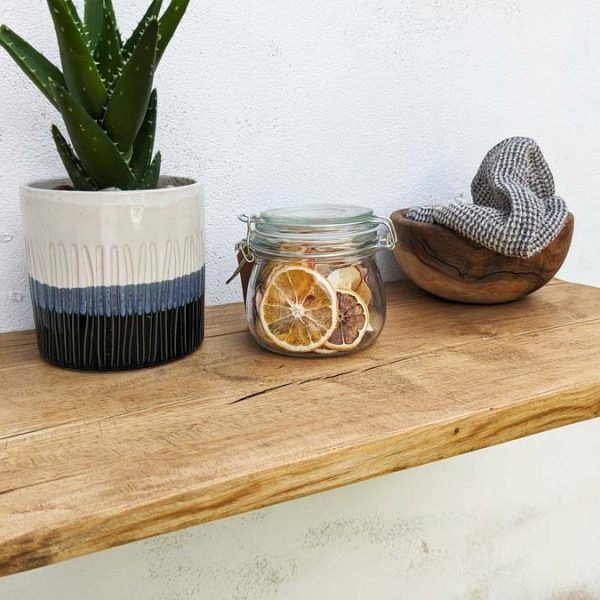
To maintain rustic wooden shelves, it’s essential to keep them clean and free from dust. Regularly dust the shelves with a soft cloth and use cleaning product suitable for wood, to help maintain their appearance. Do not use cleaning products that contain bleach or abrasive materials, as they will damage the wood’s surface.
In Conclusion
Congratulations on successfully installing your new floating shelf!
Here are a few final tips to ensure your floating shelf remains secure and looking its best for years to come:
- Regularly check the screws and mounting brackets to ensure they are still tight and secure. This will help prevent the shelf from becoming loose or unstable over time.
- Be mindful of the 35kg weight capacity of your floating shelf and avoid overloading it. This will help maintain the structural integrity of the shelf and prevent any damage to your wall.
- Clean the shelf regularly with a soft, dry cloth to keep it looking its best. Avoid using harsh chemicals or abrasives that could damage the finish.
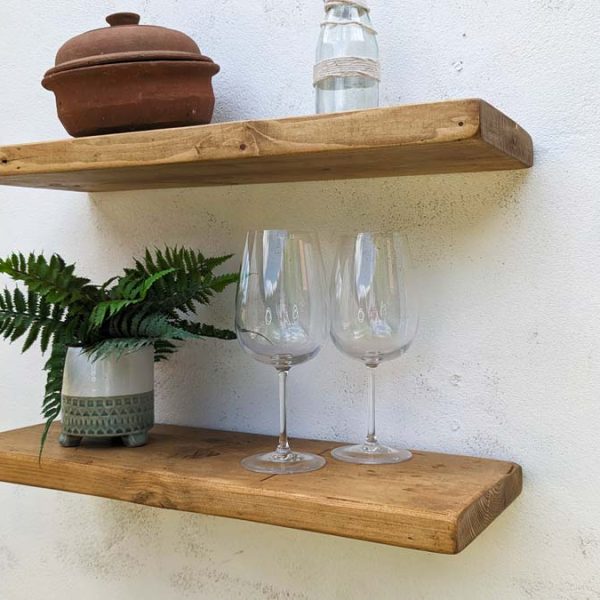
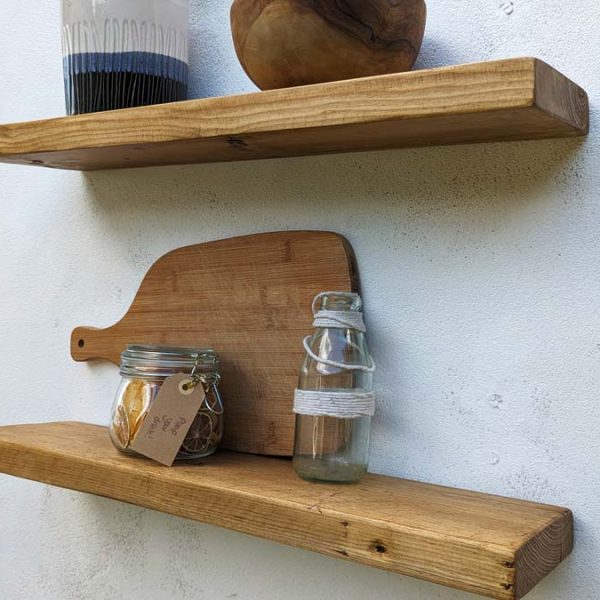
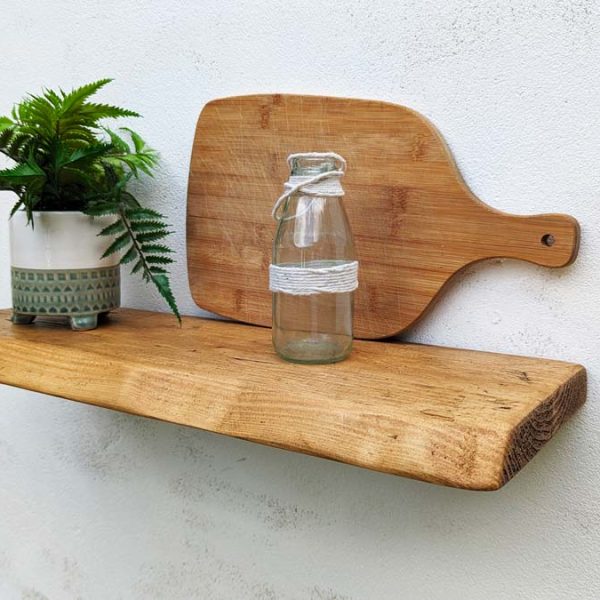
- Don’t be afraid to experiment with different décor items and arrangements on your floating shelf. Explore new ideas and find what works best for your space and personal style.
By following these tips and the step-by-step instructions in this guide, you’ll be able to enjoy your new floating shelf for years to come.
-
 Floating Shelves with brackets (22cm) | Scaffold Board Shelf | Reclaimed Wood | Alcove ShelvesPrice range: £39.00 through £180.00
 -
Narrow Floating Shelves (10cm) | Small Floating Shelf | Reclaimed WoodPrice range: £33.00 through £174.00
-
Floating Live Edge Shelf (22cm) | Faux Live Edge | Waney Reclaimed Wooden ShelfPrice range: £51.00 through £192.00
-
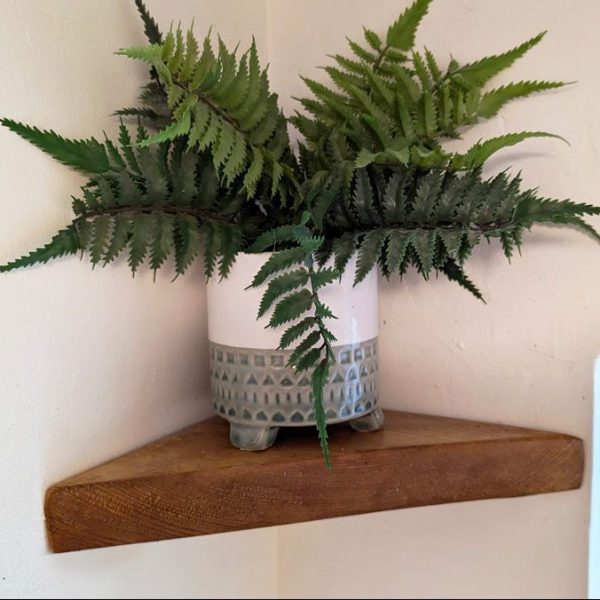
Floating Corner Shelf | Reclaimed Wooden Corner ShelvesPrice range: £28.00 through £70.00
-
Deep Floating Shelves with Brackets (25-35cm Width) | Wide Reclaimed Wood Wall ShelfPrice range: £75.00 through £151.00

Read our full story so far
ABOUT LUKE RICHARDSON
Luke is the chief maker of all the reclaimed wood furniture at Project Reclaim – a small family business that he set up in 2019. Luke is dedicated to using sustainably sourced materials and helping people bring their furniture ideas to life.
Shop our full range of reclaimed wood furniture.
Subscribe to our newsletter